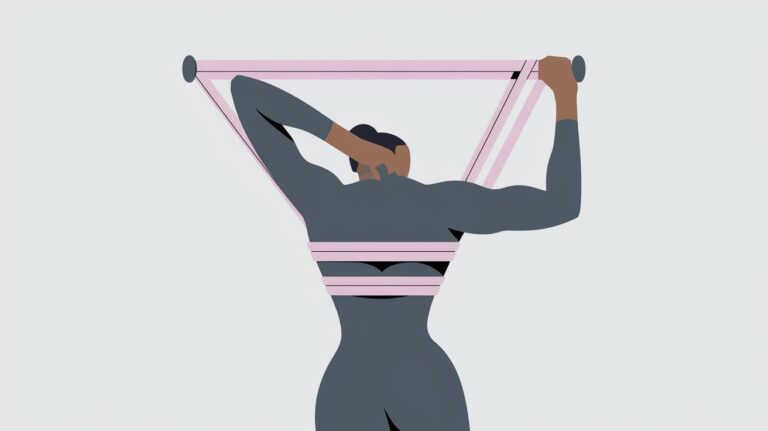
If you’re searching for an exercise that boosts your upper body strength, flexibility, and endurance, look no further than the resistance band pullover. This highly effective yet often overlooked workout can be done almost anywhere, requiring minimal equipment. But what exactly is a resistance band pullover, and how can it benefit your fitness journey?
In this blog post, we will explore the resistance band pullover exercise in detail, including its benefits, technique, and the muscle groups it targets. We’ll also provide practical guidance on how to perform this move safely and effectively. By the end, you’ll understand why this exercise deserves a spot in your fitness routine.
What is a Resistance Band Pullover?
A resistance band pullover is a strength-training exercise that primarily targets the chest, back, and shoulder muscles. By using a resistance band, you engage muscles throughout the entire range of motion, which improves flexibility and muscle endurance. This exercise mimics the traditional dumbbell pullover but with the added versatility of bands, allowing for more adjustable tension and control.
Benefits of Resistance Band Pullovers
The resistance band pullover is not only a great way to build upper body strength but also provides other significant benefits:
- Targets Multiple Muscle Groups: It works the pectorals, lats (latissimus dorsi), triceps, shoulders, and even engages the core for stability.
- Improves Flexibility: The stretch from the resistance band increases range of motion in the shoulders and upper back.
- Portable and Accessible: Resistance bands are lightweight and portable, making it easy to include this exercise in home workouts or even while traveling.
- Joint-Friendly: Compared to heavy weights, resistance bands put less strain on joints, making this exercise ideal for people recovering from injuries or for older adults.
- Customizable Resistance: You can easily adjust the intensity by using a different resistance band or changing the positioning of the exercise.
How to Do a Resistance Band Pullover: Step-by-Step Instructions
Performing the resistance band pullover properly is crucial for avoiding injury and getting the most out of your workout. Here’s a step-by-step guide:
1. Setup
- Secure a resistance band to a stable anchor point at a low or medium height (e.g., a sturdy door or a piece of heavy furniture).
- Lie on your back on a mat or a bench, holding the ends of the band with both hands, arms extended above your chest.
2. Starting Position
- Keep your feet flat on the floor, knees bent.
- Your arms should be straight but not locked, with hands directly over your chest and a slight bend in your elbows.
3. The Movement
- Slowly lower your arms behind your head in a controlled motion, stretching the band.
- As you lower, feel the stretch across your chest, shoulders, and lats.
4. Return to Starting Position
- Once you reach a comfortable stretch (without straining your shoulders), pause for a moment.
- Engage your core and upper body muscles as you pull your arms back to the starting position above your chest.
5. Repeat
- Perform 10-15 repetitions for 2-3 sets, focusing on smooth and controlled movement throughout.
Resistance Band Pullover vs Dumbbell Pullover
One common question is whether a resistance band pullover can replace the traditional dumbbell pullover. The answer depends on your goals.
- Resistance Band Pullover: Ideal for people looking for a joint-friendly, portable option that improves flexibility while building upper body strength.
- Dumbbell Pullover: Offers a heavier weight option for those looking to increase muscle mass with a larger range of motion in the chest and back.
Ultimately, the resistance band pullover is a fantastic alternative for anyone wanting to avoid heavy weights or needing a more accessible, adaptable exercise.
Tips for Maximizing Results with Resistance Band Pullovers
To get the most out of your resistance band pullover workout, keep these tips in mind:
- Use Proper Form: Focus on controlled movements and avoid using momentum to swing the band.
- Adjust Band Resistance: Switch between bands with different tension levels to challenge your muscles and prevent plateaus.
- Incorporate Variations: Try changing your grip or band positioning to target different muscle groups.
- Stay Consistent: Incorporating this exercise into your regular routine will yield long-term benefits for strength and endurance.
Ready to improve your upper body strength and flexibility with minimal equipment? Incorporate the resistance band pullover into your workout routine today! Whether you’re a fitness enthusiast, a beginner, or someone looking for low-impact exercises, this move will elevate your fitness game. Try it out and share your experiences with us in the comments below!
FAQs
1. What muscles does the resistance band pullover target? The resistance band pullover primarily targets the chest, back, shoulders, and triceps. It also engages the core for stability during the movement.
2. Is the resistance band pullover good for beginners? Yes, the resistance band pullover is suitable for beginners due to its adjustable resistance and joint-friendly nature.
3. Can resistance bands replace dumbbells for pullovers? While resistance bands may not offer the same heavy-weight benefits as dumbbells, they provide a great alternative for building strength, improving flexibility, and reducing joint stress.
4. How often should I do resistance band pullovers? For best results, include resistance band pullovers in your workout routine 2-3 times per week as part of your upper body or full-body workout.
5. What type of resistance band should I use? Start with a medium-tension band and adjust based on your strength level. As you progress, you can increase the resistance to keep challenging your muscles.


